Openstack cloud autoscaling with Senlin
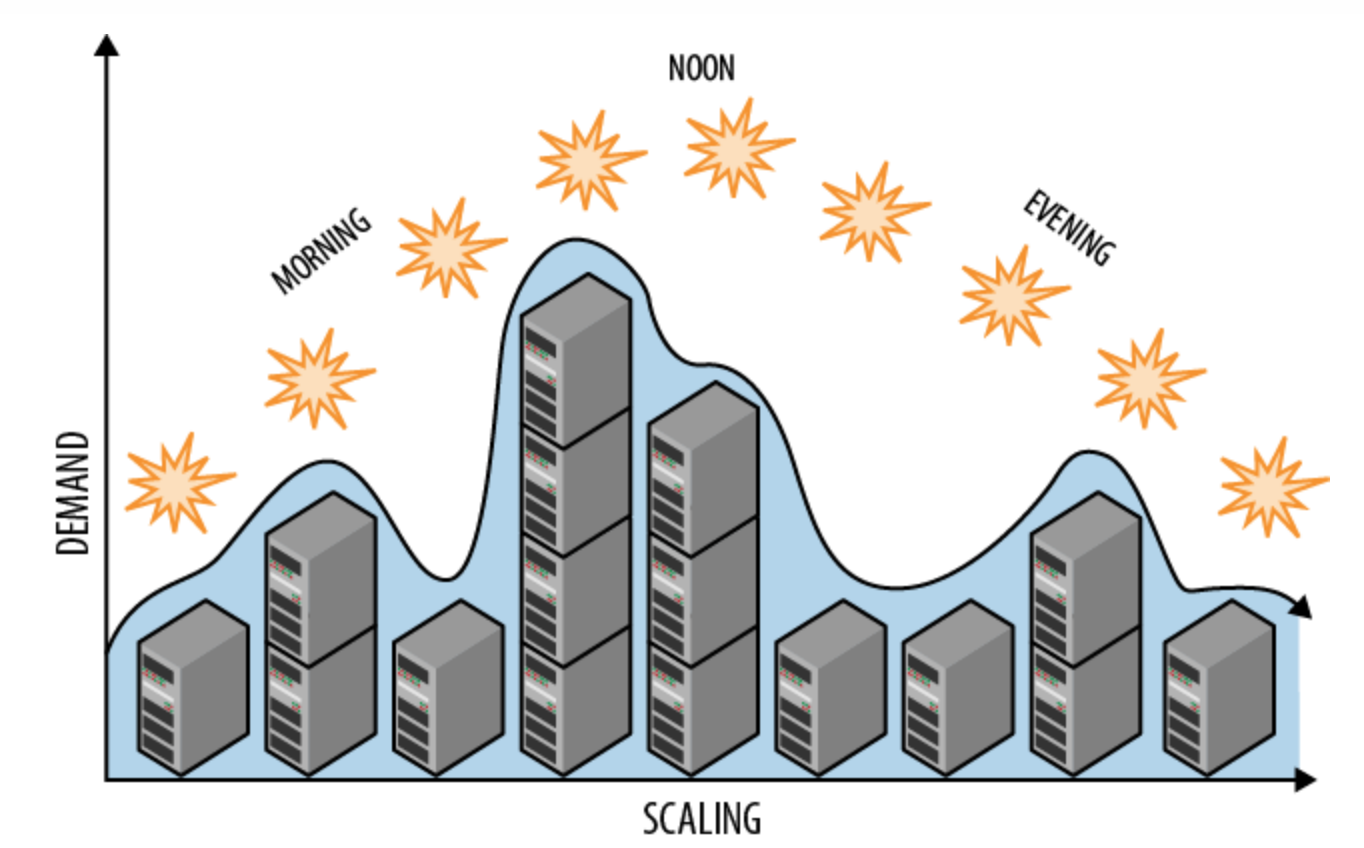
- 6 minsI am going to show you how senlin works with openstack cloud to scale up/down production workload on-demand. Senlin is a clustering service for OpenStack clouds. It creates and operates clusters of homogeneous objects exposed by other OpenStack services. You can feed external metrics to senlin to trigger scaling up/down your workload based on-demand, Just like AWS ASG.
Installation of senlin
Notes: Assuming you already have basic openstack cloud up and running.
Install RDO repo for ussuri release:
$ yum install centos-release-openstack-ussuri
Install senlin packages:
$ yum install openstack-senlin-engine.noarch \
  openstack-senlin-api.noarch \
  openstack-senlin-common.noarch \
  python3-senlinclient.noarch
MySQL Database setup:
$ mysql -u root -p

MariaDB [(none)]> CREATE DATABASE senlin DEFAULT CHARACTER SET utf8;

MariaDB [(none)]> GRANT ALL ON senlin.* TO 'senlin'@'localhost' \
  IDENTIFIED BY 'SENLIN_DBPASS';
GRANT ALL ON senlin.* TO 'senlin'@'%' \
  IDENTIFIED BY 'SENLIN_DBPASS';
Create the senlin users in keystone:
$ source /root/openrc

$ openstack user create --project services --password-prompt senlin
User Password:
Repeat User Password:

$ openstack role add --project services --user senlin admin

$ openstack service create --name senlin --description "Senlin Service" clustering
Create the senlin service API endpoints:
Notes: Make sure you don’t have any other services using 8778 port (nova placement API default port is 8778 also)
$ openstack endpoint create senlin --region RegionOne public https://controller:8778

$ openstack endpoint create senlin --region RegionOne admin http://controller:8778

$ openstack endpoint create senlin --region RegionOne internal http://controller:8778
Senlin configuration file /etc/senlin/senlin.conf should look like following:
[DEFAULT]
debug = true
transport_url = rabbit://senlin:SENLIN_MQ_PASS@controller:5671//senlin?ssl=1

[database]
connection = mysql+pymysql://senlin:SENLIN_DB_PASS@controller/senlin?charset=utf8

[keystone_authtoken]
service_token_roles_required = True
auth_type = password
auth_url = http://controller:5000/v3
www_authenticate_uri = http://controller:5000/v3
project_domain_id = default
user_domain_id = default
project_name = service
username = senlin
password = SENLIN_KEYSTONE_PASS

[authentication]
auth_url = http://controller:5000/v3
service_username = senlin
service_password = SENLIN_KEYSTONE_PASS
service_project_name = service

[oslo_messaging_notifications]
driver = messaging

[oslo_messaging_rabbit]
ssl = True
rabbit_notification_exchange = senlin
rabbit_notification_topic = notifications
Populate the Senlin database:
$ senlin-manage db_sync
Start the Senlin services:
$ systemctl enable openstack-senlin-api.service \
   openstack-senlin-conductor.service \
   openstack-senlin-engine.service \
   openstack-senlin-health-manager.service

$ systemctl start openstack-senlin-api.service \
   openstack-senlin-conductor.service \
   openstack-senlin-engine.service \
   openstack-senlin-health-manager.service
Verify Your Installation
Source the admin tenant credentials:
$ source /root/openrc
If you see following output then enjoy your successful senlin deployment.
$ openstack cluster build info
+--------+---------------------+
| Field  | Value               |
+--------+---------------------+
| api    | {                   |
|        |   "revision": "1.0" |
|        | }                   |
| engine | {                   |
|        |   "revision": "1.0" |
|        | }                   |
+--------+---------------------+
Autoscaling Demo
Create your first profile:
type: os.nova.server
version: 1.0
properties:
  name: cirros_server
  flavor: m1.small
  image: "cirros"
  key_name: spatel-key
  networks:
   - network: net1
  metadata:
    test_key: test_value
  user_data: |
    #!/bin/sh
    echo 'hello, world' > /tmp/test_file
Create your profile object:
$ openstack cluster profile create --spec-file my-senlin.yml myserver
Create your first cluster using profile:
$ openstack cluster create --profile myserver --desired-capacity 2 --min-size 1 --max-size 3 my-asg
Verify cluster status:
$ openstack cluster list
+----------+--------+--------+----------------------+----------------------+
| id       | name   | status | created_at           | updated_at           |
+----------+--------+--------+----------------------+----------------------+
| 091fbd52 | my-asg | ACTIVE | 2020-09-02T20:19:12Z | 2020-09-03T03:52:23Z |
+----------+--------+--------+----------------------+----------------------+
Verify number of instances spun up by create cluster command:
$ openstack cluster members list my-asg
+----------+---------------+-------+--------+-------------+----------------------+
| id       | name          | index | status | physical_id | created_at           |
+----------+---------------+-------+--------+-------------+----------------------+
| d4a8f219 | node-YPsjB6bV |     6 | ACTIVE | 73a658cd    | 2020-09-02T21:01:47Z |
| bc50c0b9 | node-hoiHkRcS |     7 | ACTIVE | 38ba7f7c    | 2020-09-03T03:40:29Z |
+----------+---------------+-------+--------+-------------+----------------------+
Verify cluster expension cluster, as you can see in following output it will add one more instances to my-asg cluster. max size is 3 so you can’t add more than 3 nodes to cluster.
$ openstack cluster expand my-asg
Request accepted by action: 1ac8939b-c1c0-47e1-b0a9-bb2e0c47209e

$ openstack cluster members list my-asg
+----------+---------------+-------+--------+-------------+----------------------+
| id       | name          | index | status | physical_id | created_at           |
+----------+---------------+-------+--------+-------------+----------------------+
| d4a8f219 | node-YPsjB6bV |     6 | ACTIVE | 73a658cd    | 2020-09-02T21:01:47Z |
| bc50c0b9 | node-hoiHkRcS |     7 | ACTIVE | 38ba7f7c    | 2020-09-03T03:40:29Z |
| babc2c59 | node-c6vcz43J |     8 | ACTIVE | 004adc63    | 2020-09-09T04:47:14Z |
+----------+---------------+-------+--------+-------------+----------------------+
Lets create webhook to scale up and down cluster size via api url, first need to create receiver for scale in & out:
$ openstack cluster receiver create --cluster my-asg --action CLUSTER_SCALE_IN w_scale_in
$ openstack cluster receiver create --cluster my-asg --action CLUSTER_SCALE_OUT w_scale_out
Lets do scale in cluster size using w_scale_out receiver trigger:
$ openstack cluster receiver show w_scale_in -c channel
+---------+-------------------------------------------------------------------------------------------------------------+
| Field   | Value                                                                                                       |
+---------+-------------------------------------------------------------------------------------------------------------+
| channel | {                                                                                                           |
|         |   "alarm_url": "https://controller:8778/v1/webhooks/90891282-21b0-4426-b56b-7a6846ed361b/trigger?V=2"   |
|         | }                                                                                                           |
+---------+-------------------------------------------------------------------------------------------------------------+
Verify cluster scale in action:
$ openstack cluster members list my-asg
+----------+---------------+-------+--------+-------------+----------------------+
| id       | name          | index | status | physical_id | created_at           |
+----------+---------------+-------+--------+-------------+----------------------+
| d4a8f219 | node-YPsjB6bV |     6 | ACTIVE | 73a658cd    | 2020-09-02T21:01:47Z |
| bc50c0b9 | node-hoiHkRcS |     7 | ACTIVE | 38ba7f7c    | 2020-09-03T03:40:29Z |
| babc2c59 | node-c6vcz43J |     8 | ACTIVE | 004adc63    | 2020-09-09T04:47:14Z |
+----------+---------------+-------+--------+-------------+----------------------+
$ curl -X POST https://controller:8778/v1/webhooks/90891282-21b0-4426-b56b-7a6846ed361b/trigger?V=2
$ openstack cluster members list my-asg
+----------+---------------+-------+--------+-------------+----------------------+
| id       | name          | index | status | physical_id | created_at           |
+----------+---------------+-------+--------+-------------+----------------------+
| bc50c0b9 | node-hoiHkRcS |     7 | ACTIVE | 38ba7f7c    | 2020-09-03T03:40:29Z |
| babc2c59 | node-c6vcz43J |     8 | ACTIVE | 004adc63    | 2020-09-09T04:47:14Z |
+----------+---------------+-------+--------+-------------+----------------------+
Verify cluster scale out action:
$ openstack cluster receiver show w_scale_out -c channel
+---------+-------------------------------------------------------------------------------------------------------------+
| Field   | Value                                                                                                       |
+---------+-------------------------------------------------------------------------------------------------------------+
| channel | {                                                                                                           |
|         |   "alarm_url": "https://controller:8778/v1/webhooks/481ef859-d893-423f-82b0-a59354837fbb/trigger?V=2" |
|         | }                                                                                                           |
+---------+-------------------------------------------------------------------------------------------------------------+
$ curl -X POST http://controller:8778/v1/webhooks/481ef859-d893-423f-82b0-a59354837fbb/trigger?V=2
As you can see in following output that it started creating instance.
$ openstack cluster members list my-asg
+----------+---------------+-------+----------+-------------+----------------------+
| id       | name          | index | status   | physical_id | created_at           |
+----------+---------------+-------+----------+-------------+----------------------+
| bc50c0b9 | node-hoiHkRcS |     7 | ACTIVE   | 38ba7f7c    | 2020-09-03T03:40:29Z |
| babc2c59 | node-c6vcz43J |     8 | ACTIVE   | 004adc63    | 2020-09-09T04:47:14Z |
| 6033cdf1 | node-ay2phP9v |     9 | CREATING | None        | None                 |
+----------+---------------+-------+----------+-------------+----------------------+
You can use webhook in your monitoring system, premethus or grafana to trigger scale in/out your production workload.